Adding images by ID to a gallery is the most manual way. It allows you to hand pick which ones to show. Surprisingly, it's also made easy by an optional toggle in Justified Image Grid. Nowadays most normal WordPress galleries are created using images by ID, behind the scenes. You just select the photos you need and create a gallery on the "Add Media" screen. You get a nice preview in the editor and a boring gallery on the front-end. That's what JIG will replace without much configuration and fiddling. This is the preferred way to pick images by ID.
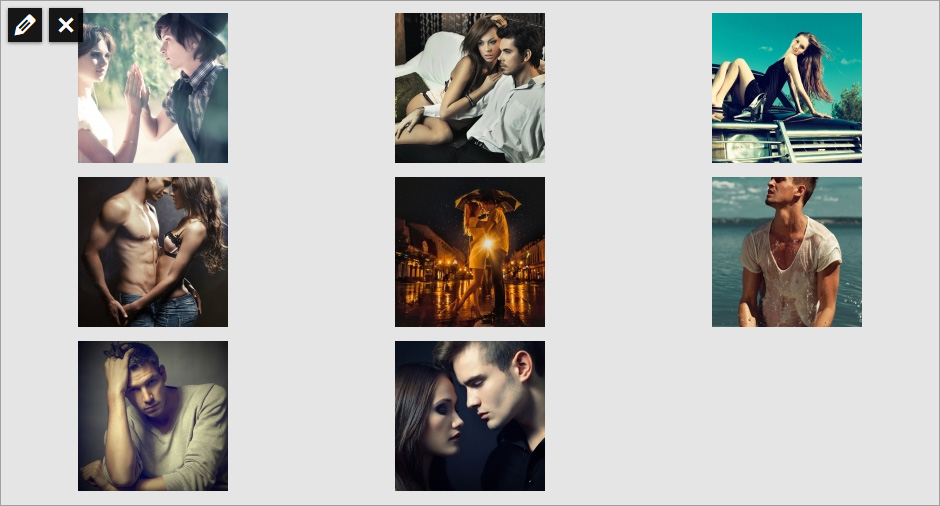
A gallery of hand-picked photos


The above example uses the following, generated shortcode (how to use):[$justified_image_grid ids=9155,9164,9131,9096,9093,9064,9019,9018]
It can take over a native WordPress gallery that look like this:
[$gallery ids="9155,9164,9131,9096,9093,9064,9019,9018"]
The automatic take-over is not enabled by default as Justified Image Grid does not force features on you. It eases you into new things gradually so you can test them before going live. This way you don't need to worry about your entire site changing (for worse or for better) when you activate the product for the first time.
Side note: Should you prefer to be adventurous and tweaky you can copy the IDs from a pre-existing gallery shortcode. It's not necessary because of the automatic take-over feature. This method allows more control over how each individual Justified Image Grid instance looks like, but there is no other benefit. Read more about the WordPress gallery shortcode.
How does one create a gallery like that?
Without tedious work or knowing the actual ID numbers - just select them visually using native WordPress tools.
It's probably the way you currently create galleries, so basically nothing needs to change. Select the photos you wish from the Media Library on the Add Media screen and you end up with this in the editor. You you can make changes to this anytime.